
Artintech ERP’s Document Control module keeps every controlled document — SOPs, quality manuals, HACCP plans — in one place with a clear lifecycle: create, review, approve, release, and revise. This tutorial walks you through the full flow.
1. Open the Document Control module #
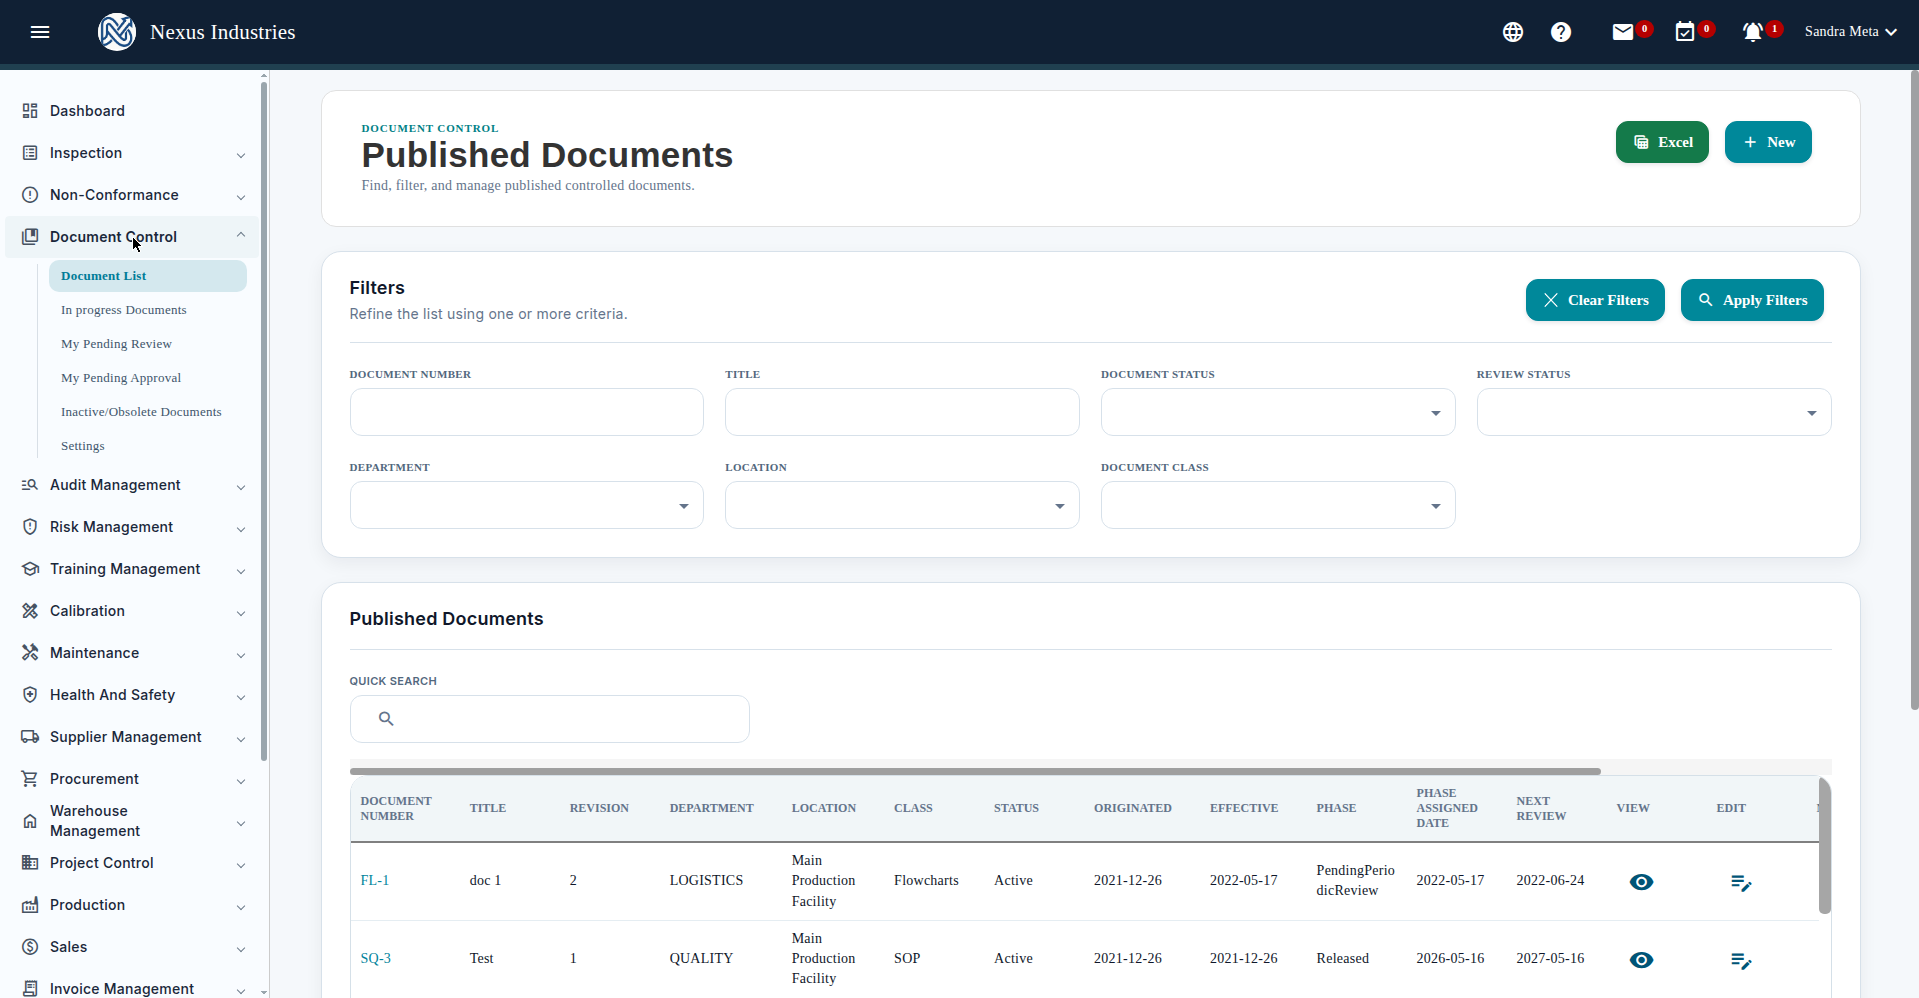
From the left sidebar, open Document Control. You’ll see its sections: Document List (published documents), In progress Documents, My Pending Review, My Pending Approval, Inactive/Obsolete Documents, and Settings.
2. Create a new document #
- Go to Document Control → Document List and click New.
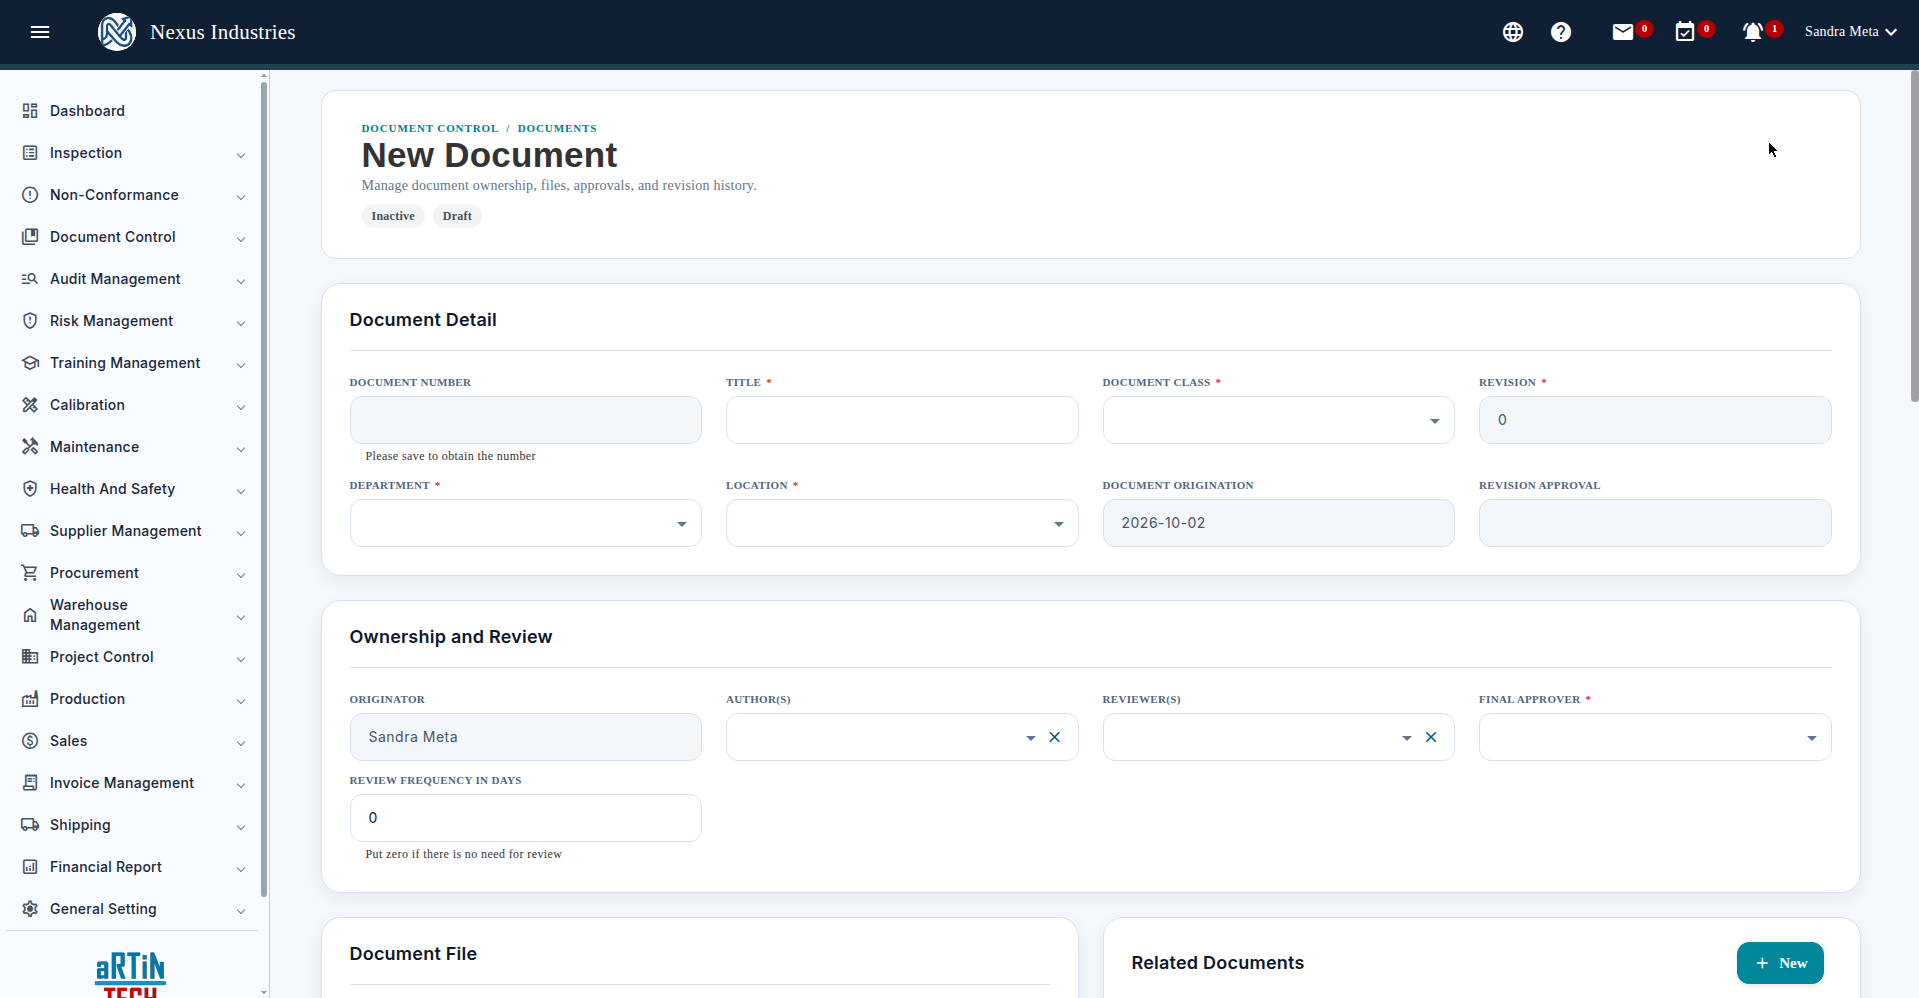
- Fill in the form: Title (required) — e.g. “Quality Manual QM-001”; Document Class (required) — e.g. SOP, Controlled Forms, Flowcharts; Department and Location (required); Final Approver (required); Document File and Editable File — upload the PDF and its editable source; Review Frequency in Days — e.g. 365 for annual review (0 if no review needed); Document Purpose, Author(s), Reviewer(s).
- Save. New documents start as Draft + Inactive, Rev 0, and the document number is assigned automatically on save (e.g. “CTL #00056”).
3. Track documents through the lifecycle #
Documents move through phases: Draft → Pending Review → Pending Approval → Released, and later into periodic review phases. The In progress Documents list shows everything not yet released with its current phase. Reviewers see their queue in My Pending Review, approvers in My Pending Approval. Obsolete documents end up in Inactive/Obsolete Documents.
4. View document detail #
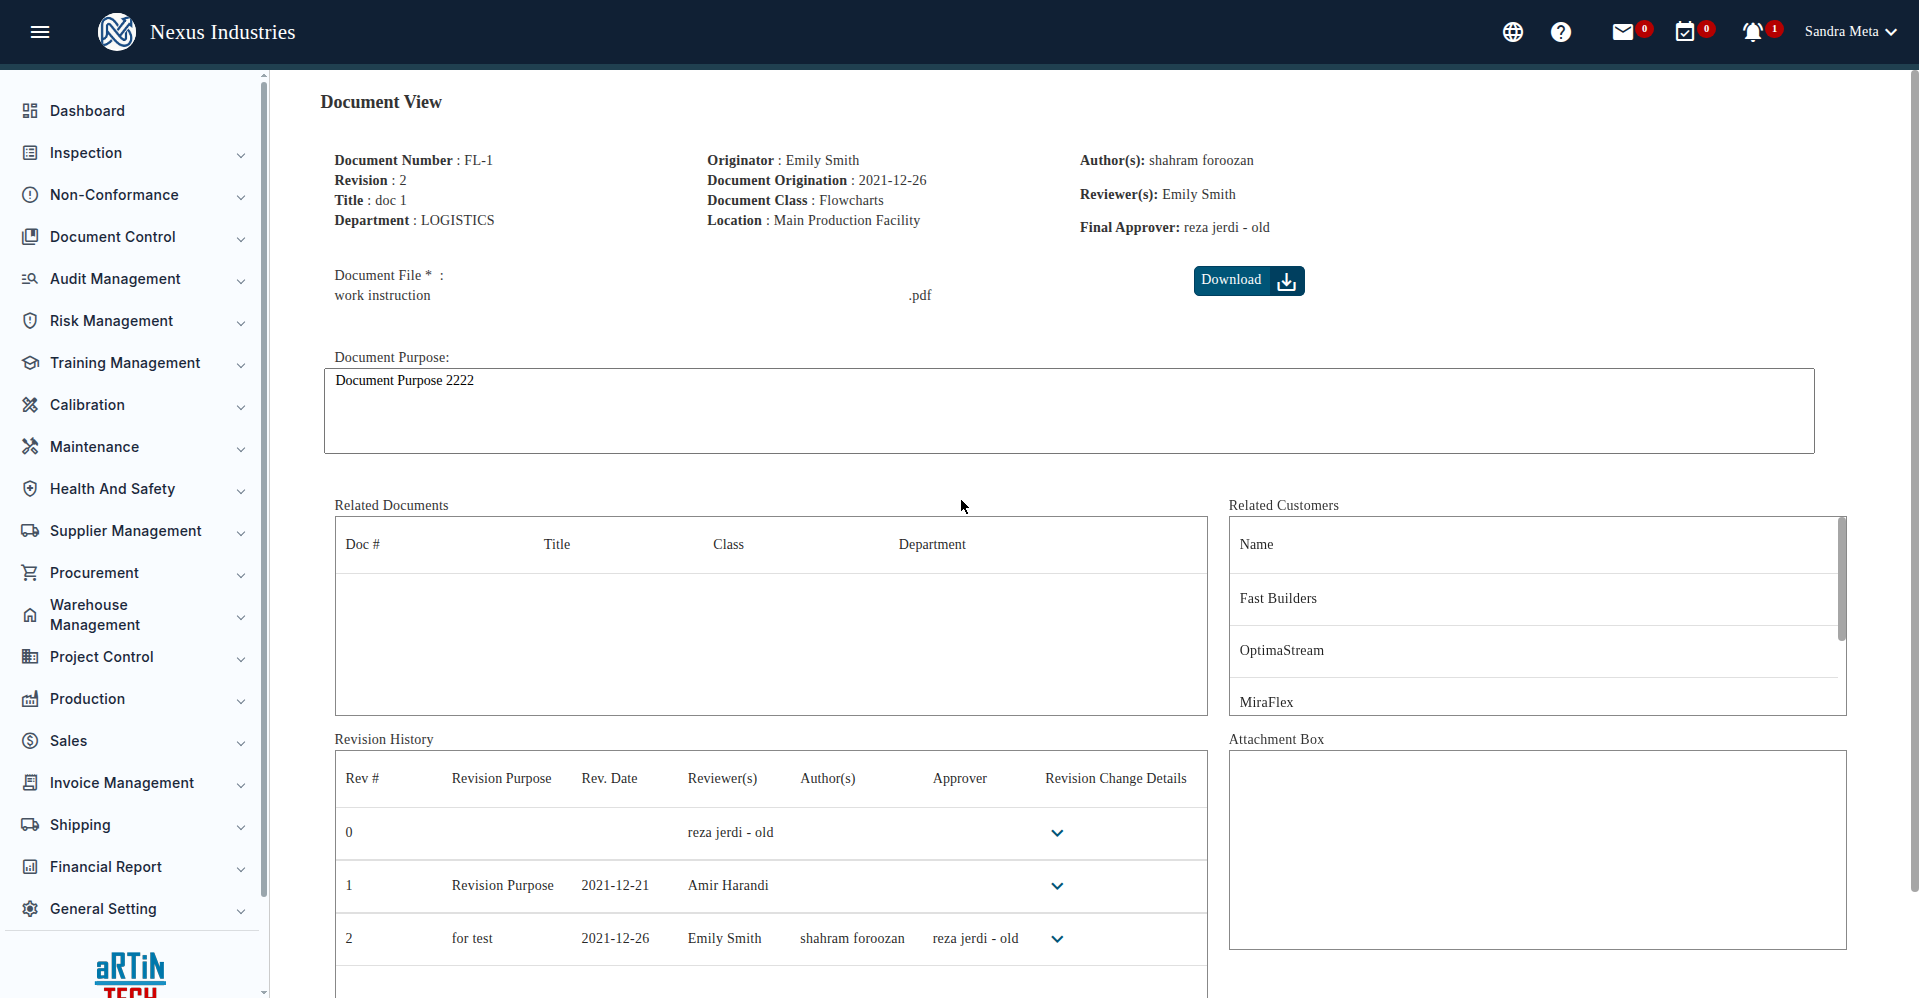
Click the eye icon on any row to open Document View: document number, revision, department, location, originator, authors, reviewers, final approver, attached files (with download), document purpose, related documents and customers, and the full Revision History — every revision with its purpose, dates, reviewers, authors, approver, and change details.
5. Find and manage documents #
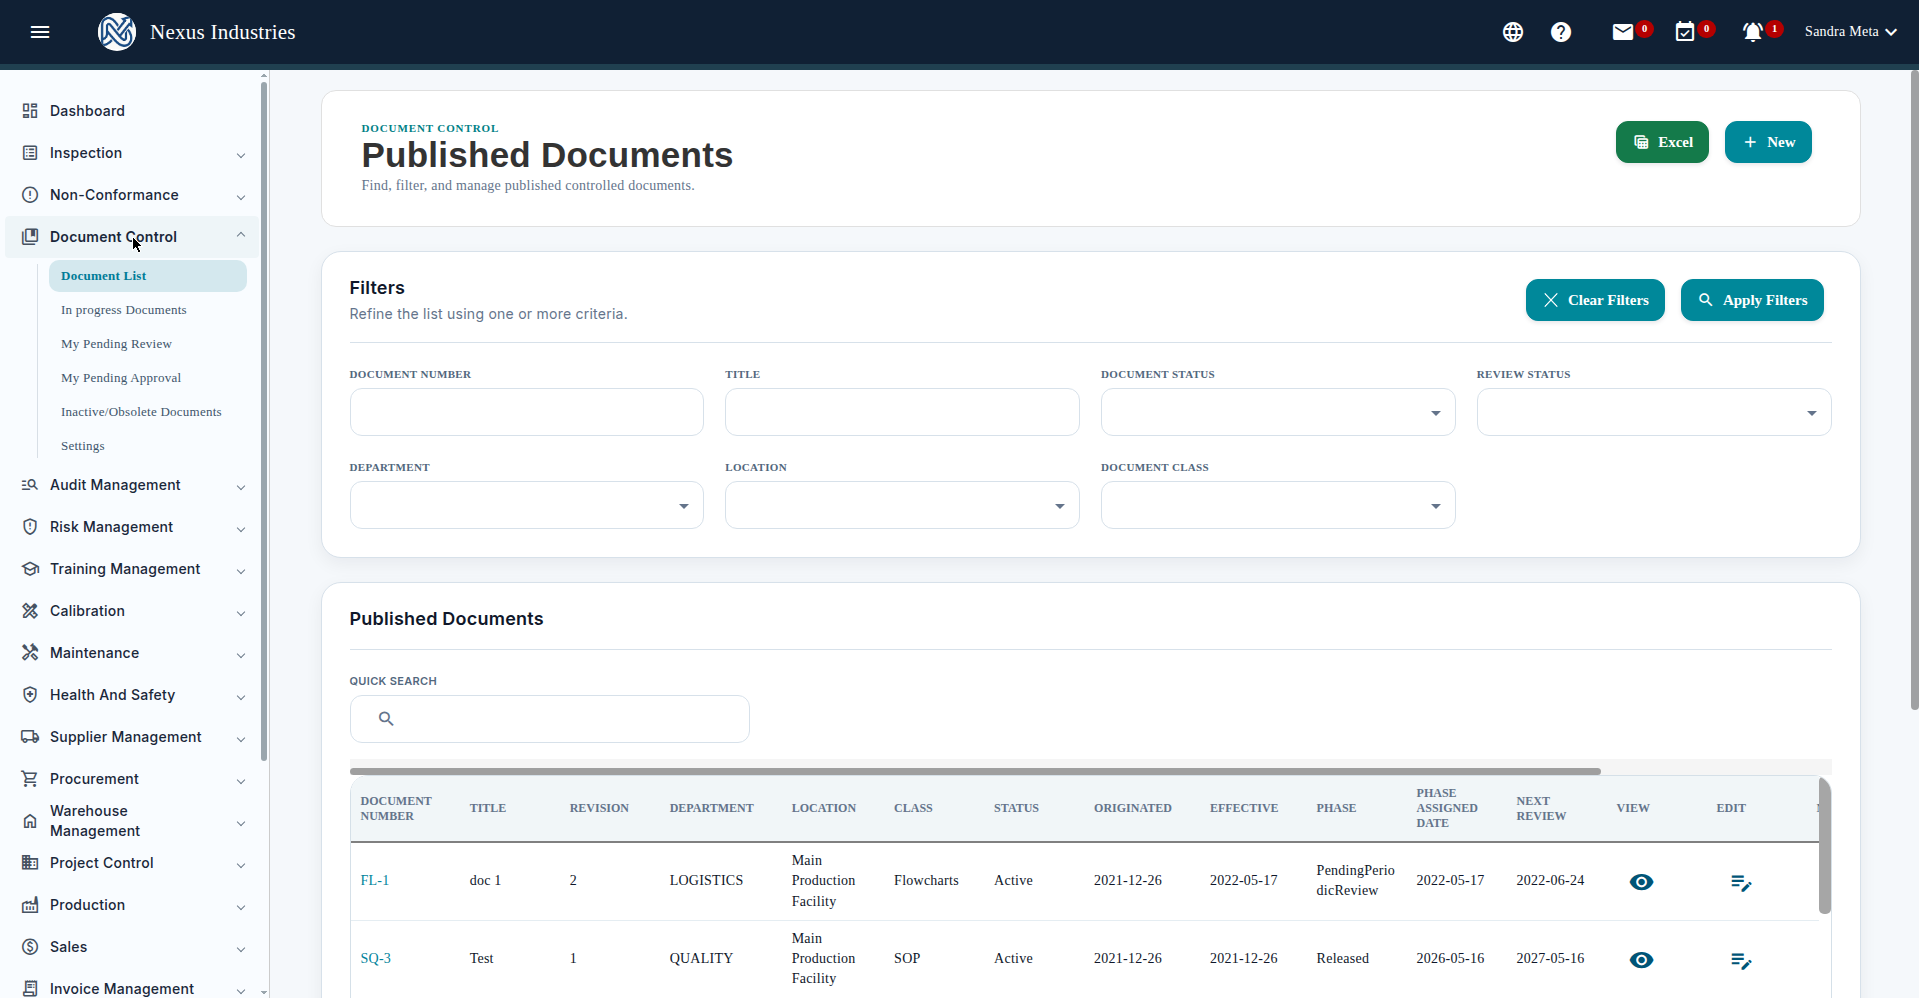
The Document List offers filters by document number, title, document status, review status, department, location, and document class — plus quick search, column sorting, pagination, and Excel export.
6. Revise and obsolete #
- Click New Rev. on a released document to start the next revision — the history keeps every revision, so nothing is ever lost.
- Obsoleting a document moves it to Inactive/Obsolete Documents, keeping the audit trail intact.


