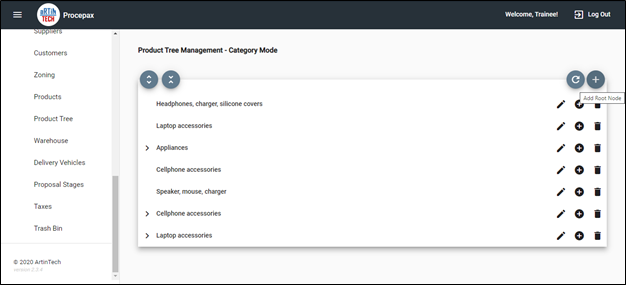
As previously mentioned in managing products, the Product Tree allows you to organize your products into Root Nodes (Main Product Categories). For example, if you sell laptops and cell phones, you can create nodes for accessories. To create a root node, click on the plus sign in the top right-hand corner.
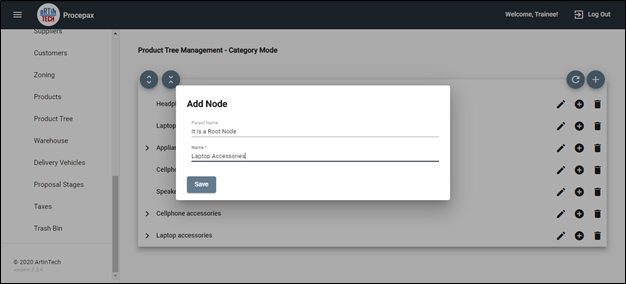
Enter the name and click save.
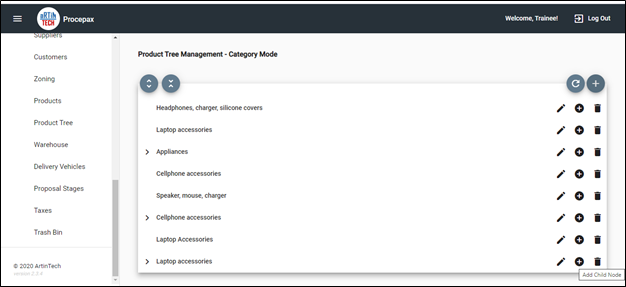
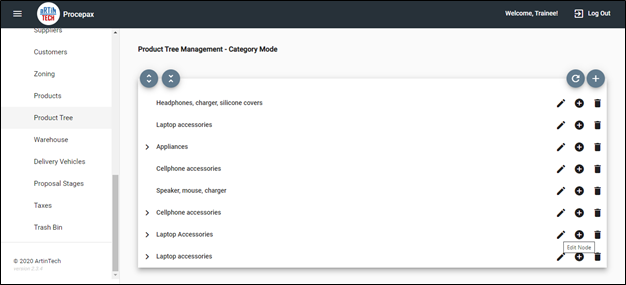
After creating your Root Node, you will notice to your far right three options, the pencil for editing, the plus sign for adding and the trash can for deletion. Let’s start with the plus sign first, as you want to add a subcategory to your newly created. When you click on the plus sign, notice that it says add. These are the subcategories you will add here.
Once you have created all Root Nodes (main Categories) and Child Nodes (sub-categories), you can simply add a product to each of them from the previously described Products menu. Just scroll down to the bottom of your product as explained in the previous section, select the correct Root Node, and where the Child Node is, click the plus sign to add your product.
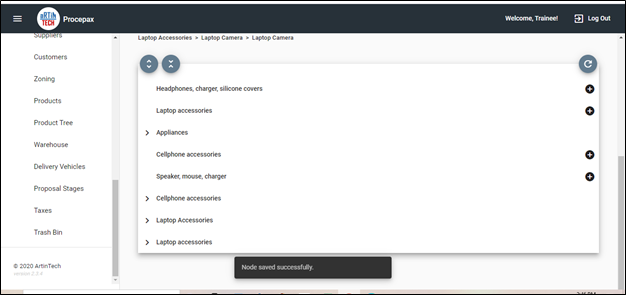
You get a message that it has been successfully saved!
To edit a Root Node, click on the pencil.
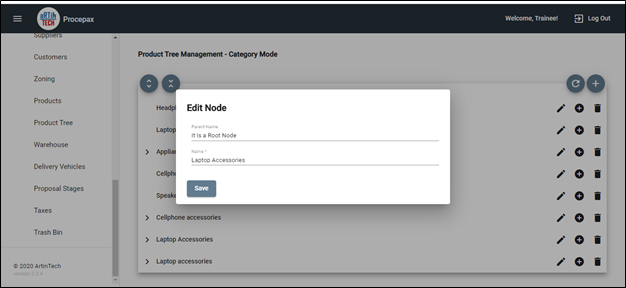
Edit the Root Node and click Save.
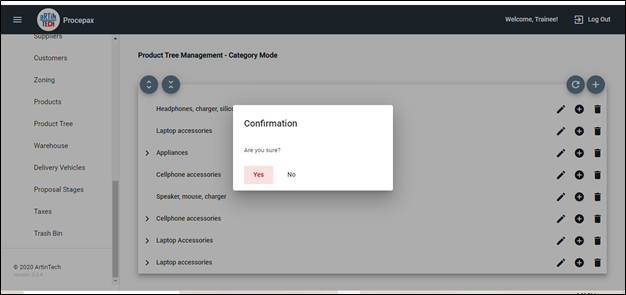
To remove a node, click the and delete.